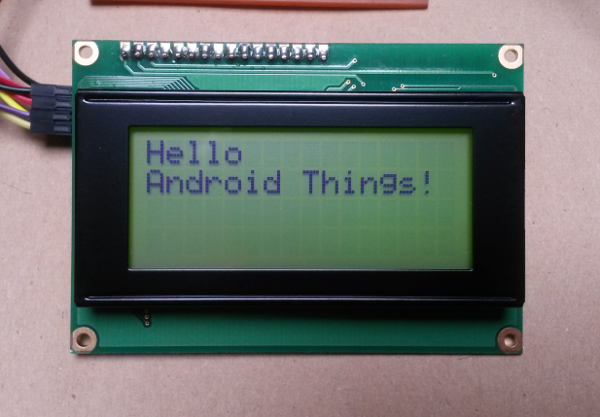
I’ve written a tutorial on character LCD displays and how to drive them with Android Things. It’s on Hackster.io, check it out here.
Tag: LCM1602

Hello Android Things Developer Console
This week Google released the developer console for Android Things. With this release, another piece of the puzzle is in place. The terms and conditions of the developer console it make clear that this is a developer preview, the number of devices you can push updates to is limited to 500, and you can use the console “for the sole purpose of internal development and testing of devices.” Don’t go out and try to sell anything yet. It looks as though actually distributing a product will require an additional, commercial agreement with Google.
I used the developer console to create an image for my (now deprecated) iMX6UL Wandaboard (bought especially for Android Things development, not that I’m bitter about it being deprecated so soon). The process is simple enough. The hardest part is figuring out how much of the device’s memory to reserve for an OEM partition. I went for a wildly pessimistic 128MB partition size, which is over kill for a 2MB app, but once set the partition size cannot be changed so I erred on the cautious side.
I created a product based on my bus stop project.
Welcome to the first part in a two part series about using an LCD Character display with Android Things. In this part we’ll collect, partially explain, and wire together the hardware. In the next part we’ll setup the project in Android Studio and write some clever messages to the display.
The Android things I2C API enables you to communicate with I2C devices, such as the PCF8574, using java in an Android project. The PCF8574 is a port expander that lets you connect to peripherals over a relatively high speed serial bus to a controller. This reduces the wire count and pin usage. Common usage includes interfaces to buttons, keypads and displays. We will use the PCF8574 to connect a Raspberry Pi to an LCD Character display.

Character LCD driven by Android Things